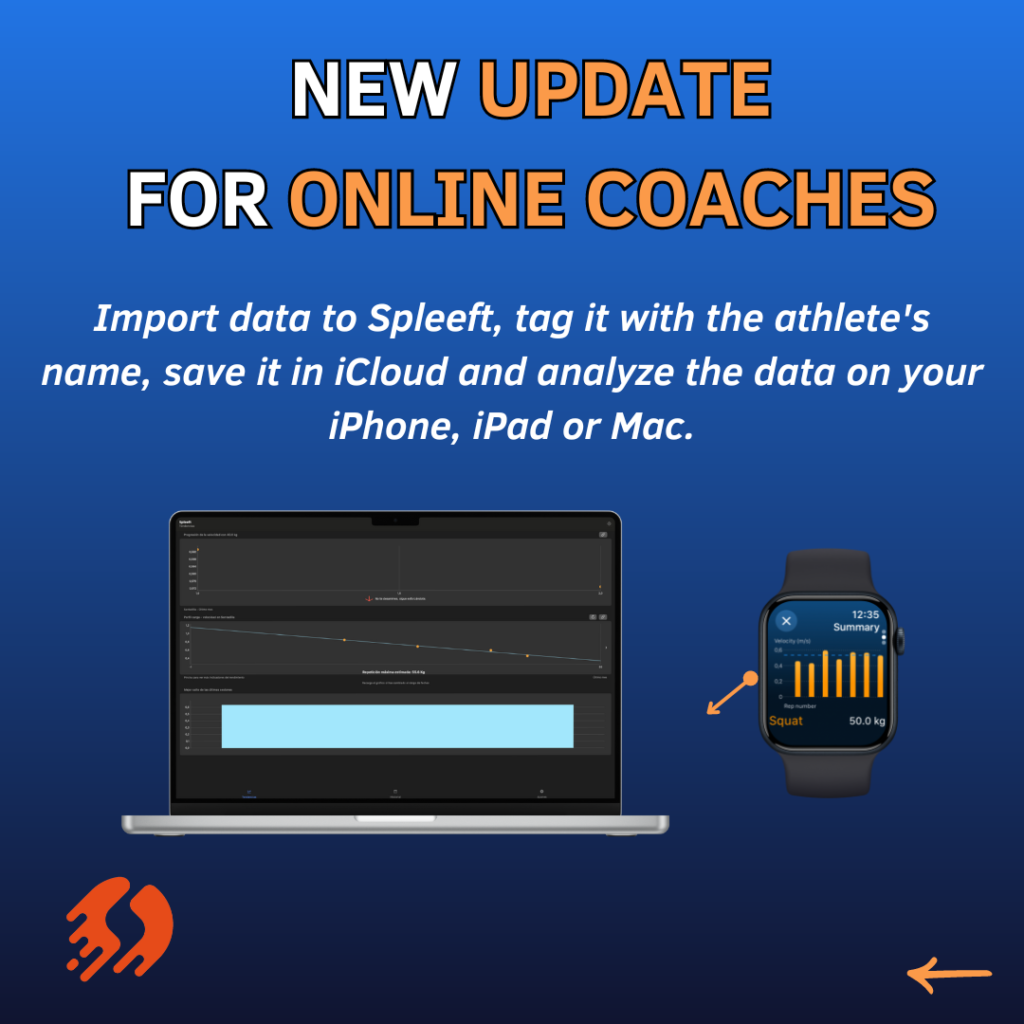
A major update that allows you to import data to Spleeft, tag it with the athlete’s name, save it in iCloud and analyze the data on your iPhone, iPad or Mac.
Spleeft is a very useful tool for online coaches, as it adds more information about your athlete’s performance. This, is affordable, as they don’t have to buy expensive devices. Since the first launch of Spleeft, many coaches have asked us to add a way to analyze the data of multiple athletes. And now is their turn.
Check here our last update where we introduce the tags, more exercises and performance analytics.
With this update, your athletes can send you their data. Then, you can import it into your Spleeft app, tag it with the athlete name, club… to see the trends and performance KPIs of all your athletes. Finally, thanks to the iCloud sync, you can enjoy this data on your iPhone, iPad and Mac.
In this article, we are going to explain you how to perform this process step by step.
DOWNLOAD SPLEEFT APP NOW FOR PHONE, MAC AND WATCH!
What’s new on Spleeft PRO:
Step 1: Ask your athlete to send you their data.
Your athlete just has to go to history, click on the export button at the top-right toolbar, select a suitable time range and send it to you by email, for example.
We know that the accuracy of this data is very important for you. Check this scientific article done by independent researchers about the reliability of the Apple Watch to measure barbell velocity.
Step 2: Import your data into your app.
This step is the same for iPhone, iPad and Mac. As coaches, we know that is more comfortable for you to analyze data with your Mac. Again, go to history and now click on the import button. Add the athlete’s name as a tag if you want. Dismiss this screen if you don’t want to add any tags. It’s recommended to add tag to be able to filter all your data.
Dismiss that screen and select the file to import. It has to be EXACTLY THE SAME FILE AS EXPORTED. You shouldn’t modify the exported file or add another type of file.
If everything is right, refresh the history and enjoy the data on all your devices.
Step 3: Filter the data coaches.
Again, this process is multiplatform. Now that you have your athlete’s data saved, it is time to analyze it. At the trends tab, go to chart settings config at the top-right corner. Scroll down and tap on the filter’s toggle to activate them. Click on the pencil to add the tags you want to filter.
Finally, return to the trends screen and analyze your athlete’s data!


